During my ‘15 Lino’s in 30 Days’ challenge I got a few questions about my process.
For instance how I transfer my drawing to the lino. So I thought it would be fun to write a
blogpost about it. This is my way of working and by no means I want to suggest it is the
proper or only way to cut a lino.
1) First I make a quick sketch with my trusty Faber-Castell Grip Plus 0.7 pencil. I bought this
pencil because of my old hand-/ thumb injury. Because of its broadness it has a nice grip.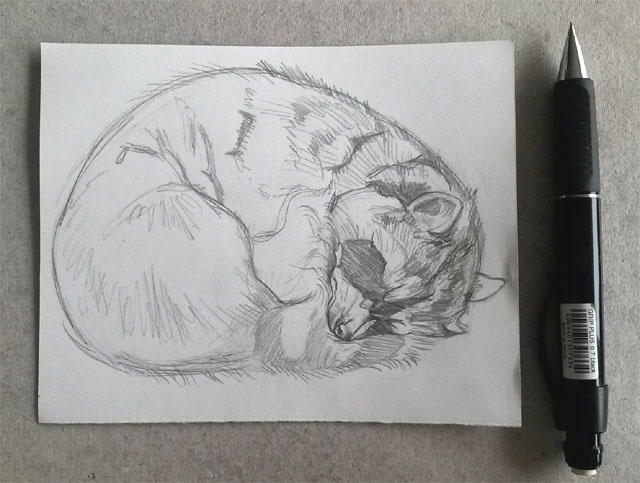
2) Using that same pencil I make a very global copy on tracing paper.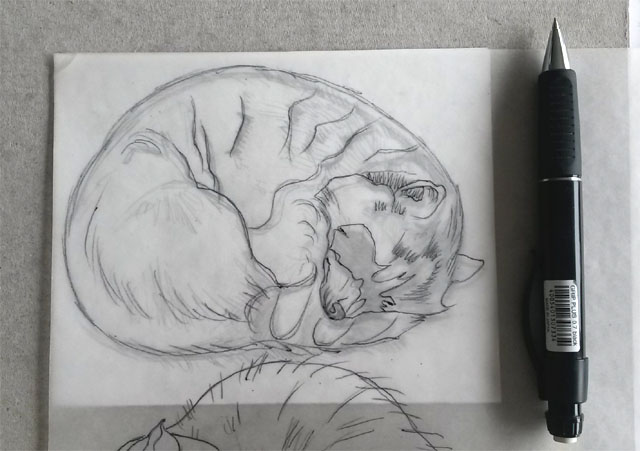
3) Next I take the piece of lino I want to use and tape the tracing paper on top of it. To transfer
the drawing from the tracing paper to the lino I use black carbon paper (the kind that’s for
typewriting, somehow it works better than the blue kind which is meant for handwriting).
I use a Bic pen to trace the drawing.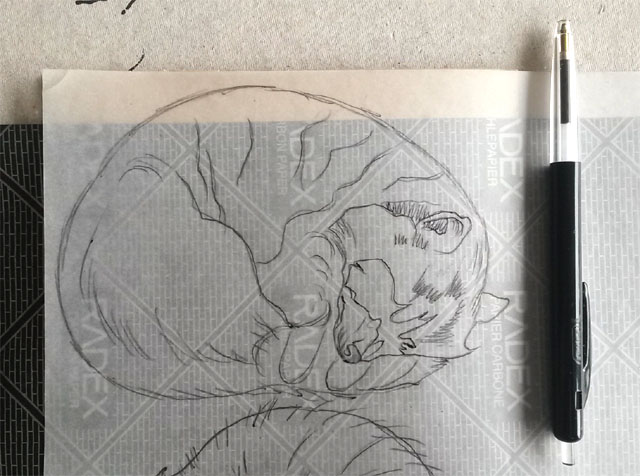
4) When the tracing is done I use a Stanger CD/ DVD marker to make a detailed drawing on
the lino using the carbon line as a guidance. The marker takes to the lino and doesn’t get
wiped off easily.
5) As you can see compared to the first sketch the drawing on the lino is much more detailed.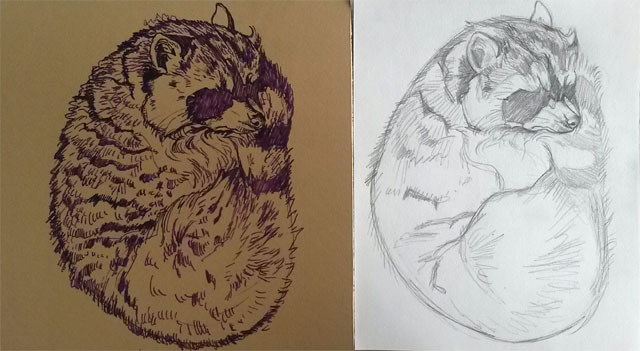
6) Time to cut! For my birthday I got this L 11/1 gouge by Pfeil. It’s U-shaped and makes very
nice fine lines. I used this gouge during the entire ‘15 Lino’s in 30 Days’ challenge.
For bigger surfaces I used my regular Abig lino cutting toolset which also worked perfectly.
When you look at this picture you still see the CD/ DVD marker markings but to get a really
clear picture I use another marker.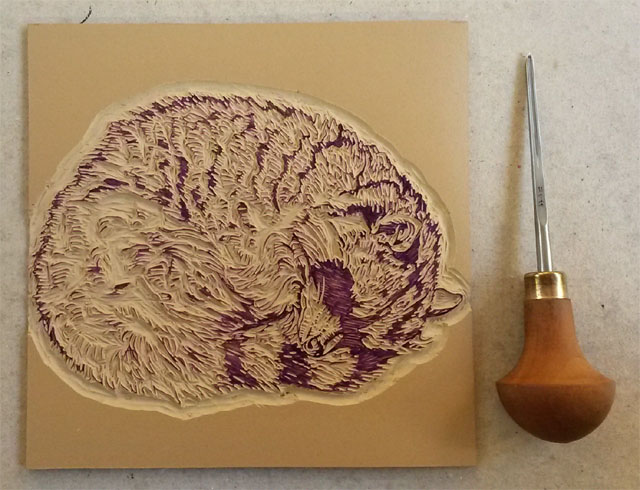
7) Here I used the Staedtler permanent Lumocolor marker to have a more clear image.
Having finished this this is the part where I squint my eyes and have an image of what the
print is going to look like!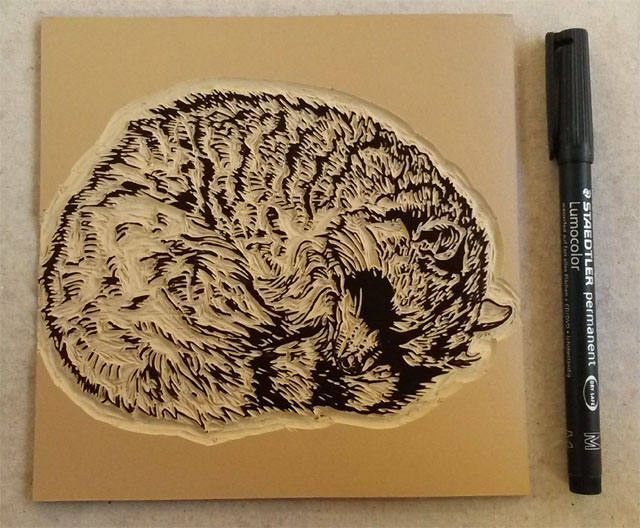
8) Ready to print!!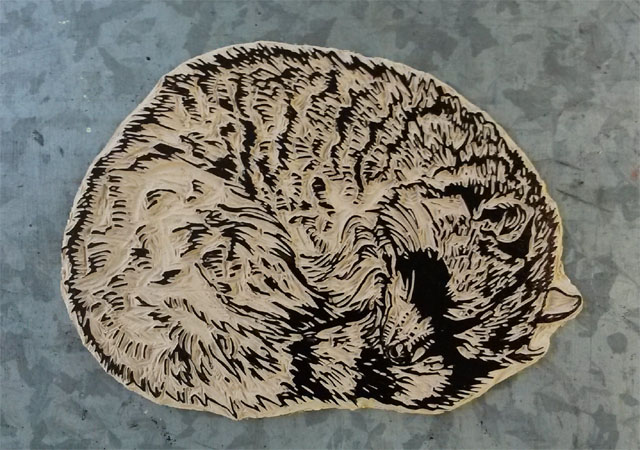
After the first test-print I got the sense I missed something in the face and added a little line to
suggest a sleepy raccoon eye. You can find the end result here!
🍃🍂